

COOKIN' IT OLD SCHOOL
James Beard puts the old in old school. Even the late and very great Julia (do we even need to mention her last name?) looked to him for inspiration and guidance. By the time M.F.K. Fisher was considering the oyster, Beard was already in his 40s and laying the groundwork for what would become the American foodie revolution, one that is usually credited to Julia and not him.
Not that he'd care one way or the other. This guy was reputedly so well liked that the eats and drinks industry's most important awards are named for him.
I admit that I'm Beard biased. Part of that bias is based on the '60s-'70s look and feel of many of his books. Of course, they look and feel all earth toney and shag carpety because they are from the '60s and '70s (I am myself a product of The Age of Aquarius).
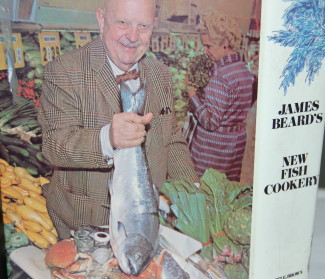
But just as big a part of my Beard love is that his recipes touch on just about every style of cooking. From the very, very basic to the decidedly not basic, Beard always has something interesting or instructive to say. For instance, while the dish of the day obviously isn't fish, a note on cooking fish in his New Fish Cookery changed my life. In the kitchen, that is.
On pages 6-9, he explains the "Canadian Cooking Theory." The principle, developed by the fisheries department of the Great White North, is essentially that any fish should be cooked 10 minutes per inch measured at its thickest point when laying flat. Doesn't matter whether you're pan frying, baking, poaching, grilling, etc., etc. Doesn't matter if it's perch, swordfish, yellowtail, pompano (a Beard favorite), shark, bluefish, catfish, etc., etc. Ten minutes an inch is all it takes.
You have to admire anyone who would actually try and codify (sorry about that) a foolproof cooking method for a type of protein that varies so from ocean to ocean, lake to lake, river to river and stream to stream. And you have to give credit to Beard for being willing to champion a system that in some sense lessens his role as a teacher.
I've adopted the method, and over the course of several years, while I can't say it's infallible (an extra minute added or subtracted here and there on occasion), it has proved to be remarkably stress reducing. It eliminates the repeated checking that always seems necessary to prevent all that hard work and money from being wasted as the fish goes from just right to just not right in an instant.

OK. Enough. Time for a quick and retro chicken dinner. I was thumbing through the book pictured above and thought it would be fun to light my sauté pan on fire. (The recipe, found on page 342, has been modified to suit me; I point those instances out when they're important.)
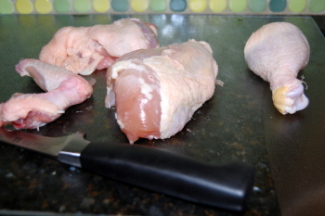
Personally, I prefer dark meat. Why? Because it actually has flavor. But it's a free country, so use any pieces you wish. (As an aside, I also don't get why a steak eater would choose filet mignon over just about any other cut; other than its texture, it has nothing on a strip or rib-eye or porterhouse--yes, I know that the porterhouse has a bit of filet mignon on it; that's the part that my lovely wife asks for.)
You don't need much more than this. That said, you could add mushrooms, bell peppers, whatever, but would need to adjust some of the cooking, particularly for the mushrooms (properly sautéeing mushrooms is a lost art and will be the subject of a post one day).
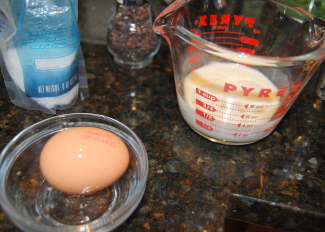
Good salt, black pepper, an egg and cream. Make that half & half (I rarely have cream at home, and it's simply not necessary to run out and buy some).

And, of course, the fuel for the fire. A couple of ounces or so should be enough.
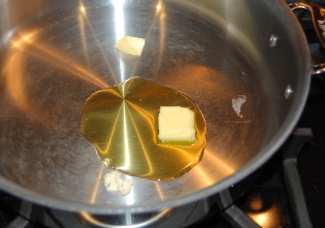
And so we begin. Some butter and oil in the pan. Medium heat because you don't want to brown the butter (or worse, burn it), and you're going to cook the chicken in it until the chicken is done. (Brown butter is lovely, and anything done in brown butter is automatically a great match with white Burgundy.)
Anyway, just don't burn the butter. Once the foam subsides, turn the heat up a bit and gently place your impeccably dried chicken pieces in (if they're not dry, you end up doing a combination of sautéeing and steaming, something you don't want to do; you'll lose color and probably end up overcooking the chicken unknowingly). And, please don't crowd the pan. If you do, you'll get more of the parenthetical effect noted above.
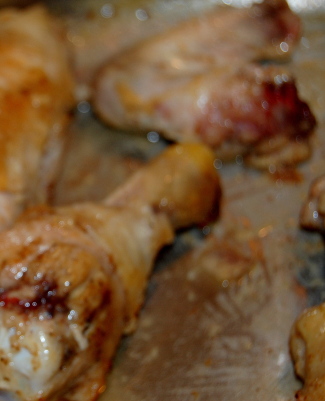
After getting a nice brown color on each side of each piece, feel free to turn pieces every minute or two. You'll promote continued even coloring and minimize the chance of burning. Remember that the rate of cooking will vary considerably depending on the size of each piece and what part it is. Dark meat takes longer than white; smaller pieces, like wings, will take less time than drum sticks. But you probably knew that.
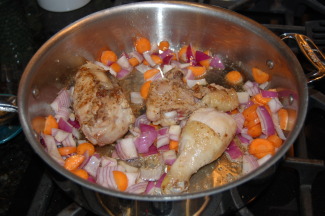
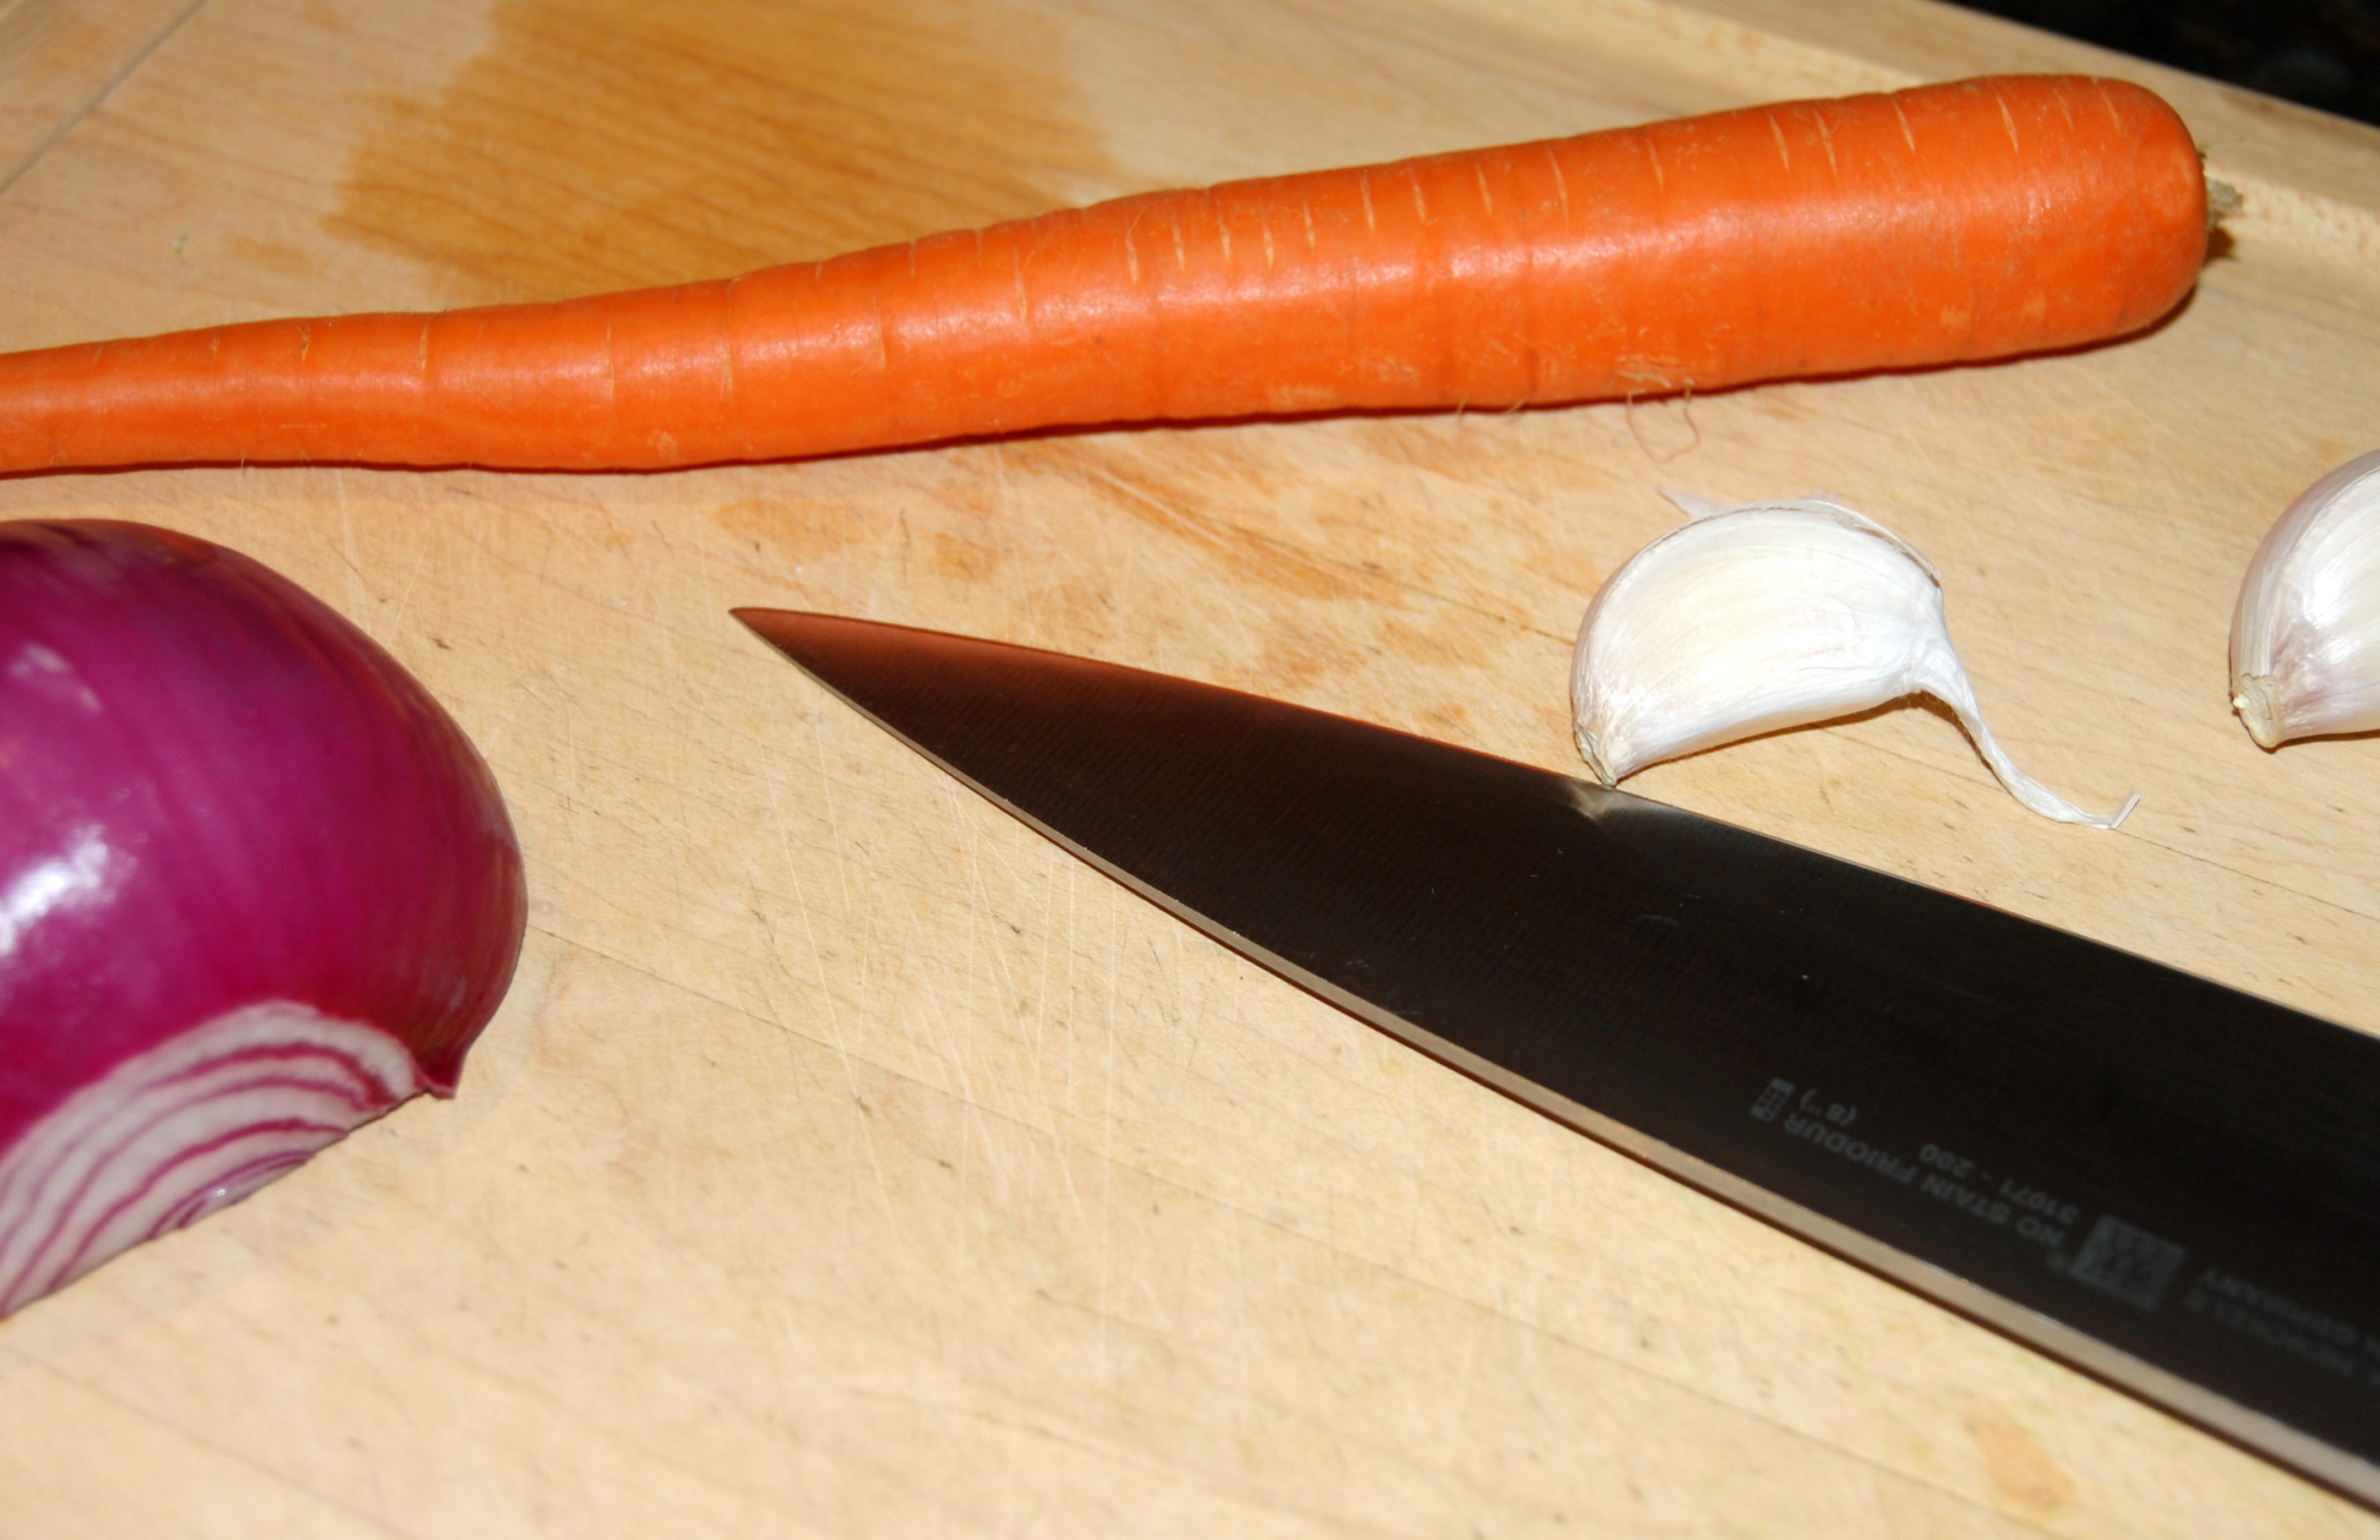
A few minutes before the chicken is done, toss in your carrots and onions (hold the garlic, please). Move the contents of the pan around frequently. Make sure each and every piece of onion and carrot gets coated in the butter/oil/schmaltz that has rendered while the chicken cooked.
Remove pieces as they're cooked through, and place them on a warm platter. No need to cover it because you'll be setting them on fire in a little while. Once all the chicken is out, throw in the garlic and move it around for about 30 seconds.
And now comes the hard part. Thankfully, it's actually not that hard, but you must pay close attention to what you're doing or you'll end up with a breakfast dish.
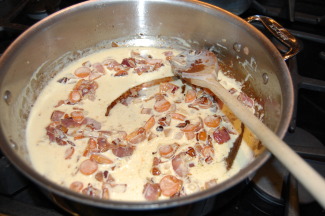
Here's my biggest parting of ways with the recipe. Not because I would presume to know better than Beard; simply as a matter of expediency (and to ensure that I'll have less pans to wash later!). Turn off the heat. Beat an egg yoke with a half-cup, or a little more, of the half & half. Then turn the heat on low and pour the mixture into the pan, quickly stirring it around.

This is the consistency you're looking for. Creamy, but not thick. The "proper" way to make sure the yoke doesn't scramble is to work it into the pan while it is over another pan of hot water, rather than the flame of the stove.
Agreed, of course. But I feel confident enough to be able to tell when there's too much heat. It doesn't take that long to cook this aspect of the sauce anyway, so working it around thoroughly while you're also scrapping up brown bits to enhance it makes sense. But if you see even the hint of a bubble, immediately take the pan off the heat (and don't just turn the dial, either; you have to pick the pan up and put it somewhere where it's not hot). Once things cool down a bit (probably only seconds), get back to it.
Taste the sauce. Or better yet, steal a piece of carrot and see if you need seasoning. You will. Once you've added salt and black pepper, remove the veggies and sauce, portioning it among two warm plates.
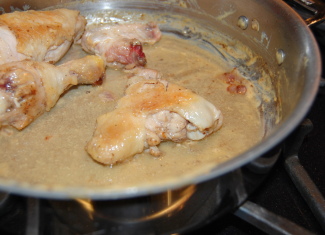
Put the chicken back in the now-empty pan, turn the heat to high and pour (carefully) the Cognac all over the chicken. Tip the pan a bit and light it. If you're a fan of cooking shows, you've seen this done a million times. However, I'd advise AGAINST doing it the professional way. Instead, light it with a match. JB does this part in a separate flame-proof platter, but, again, as the dish-washer-in-residence, I choose less over more things to clean.
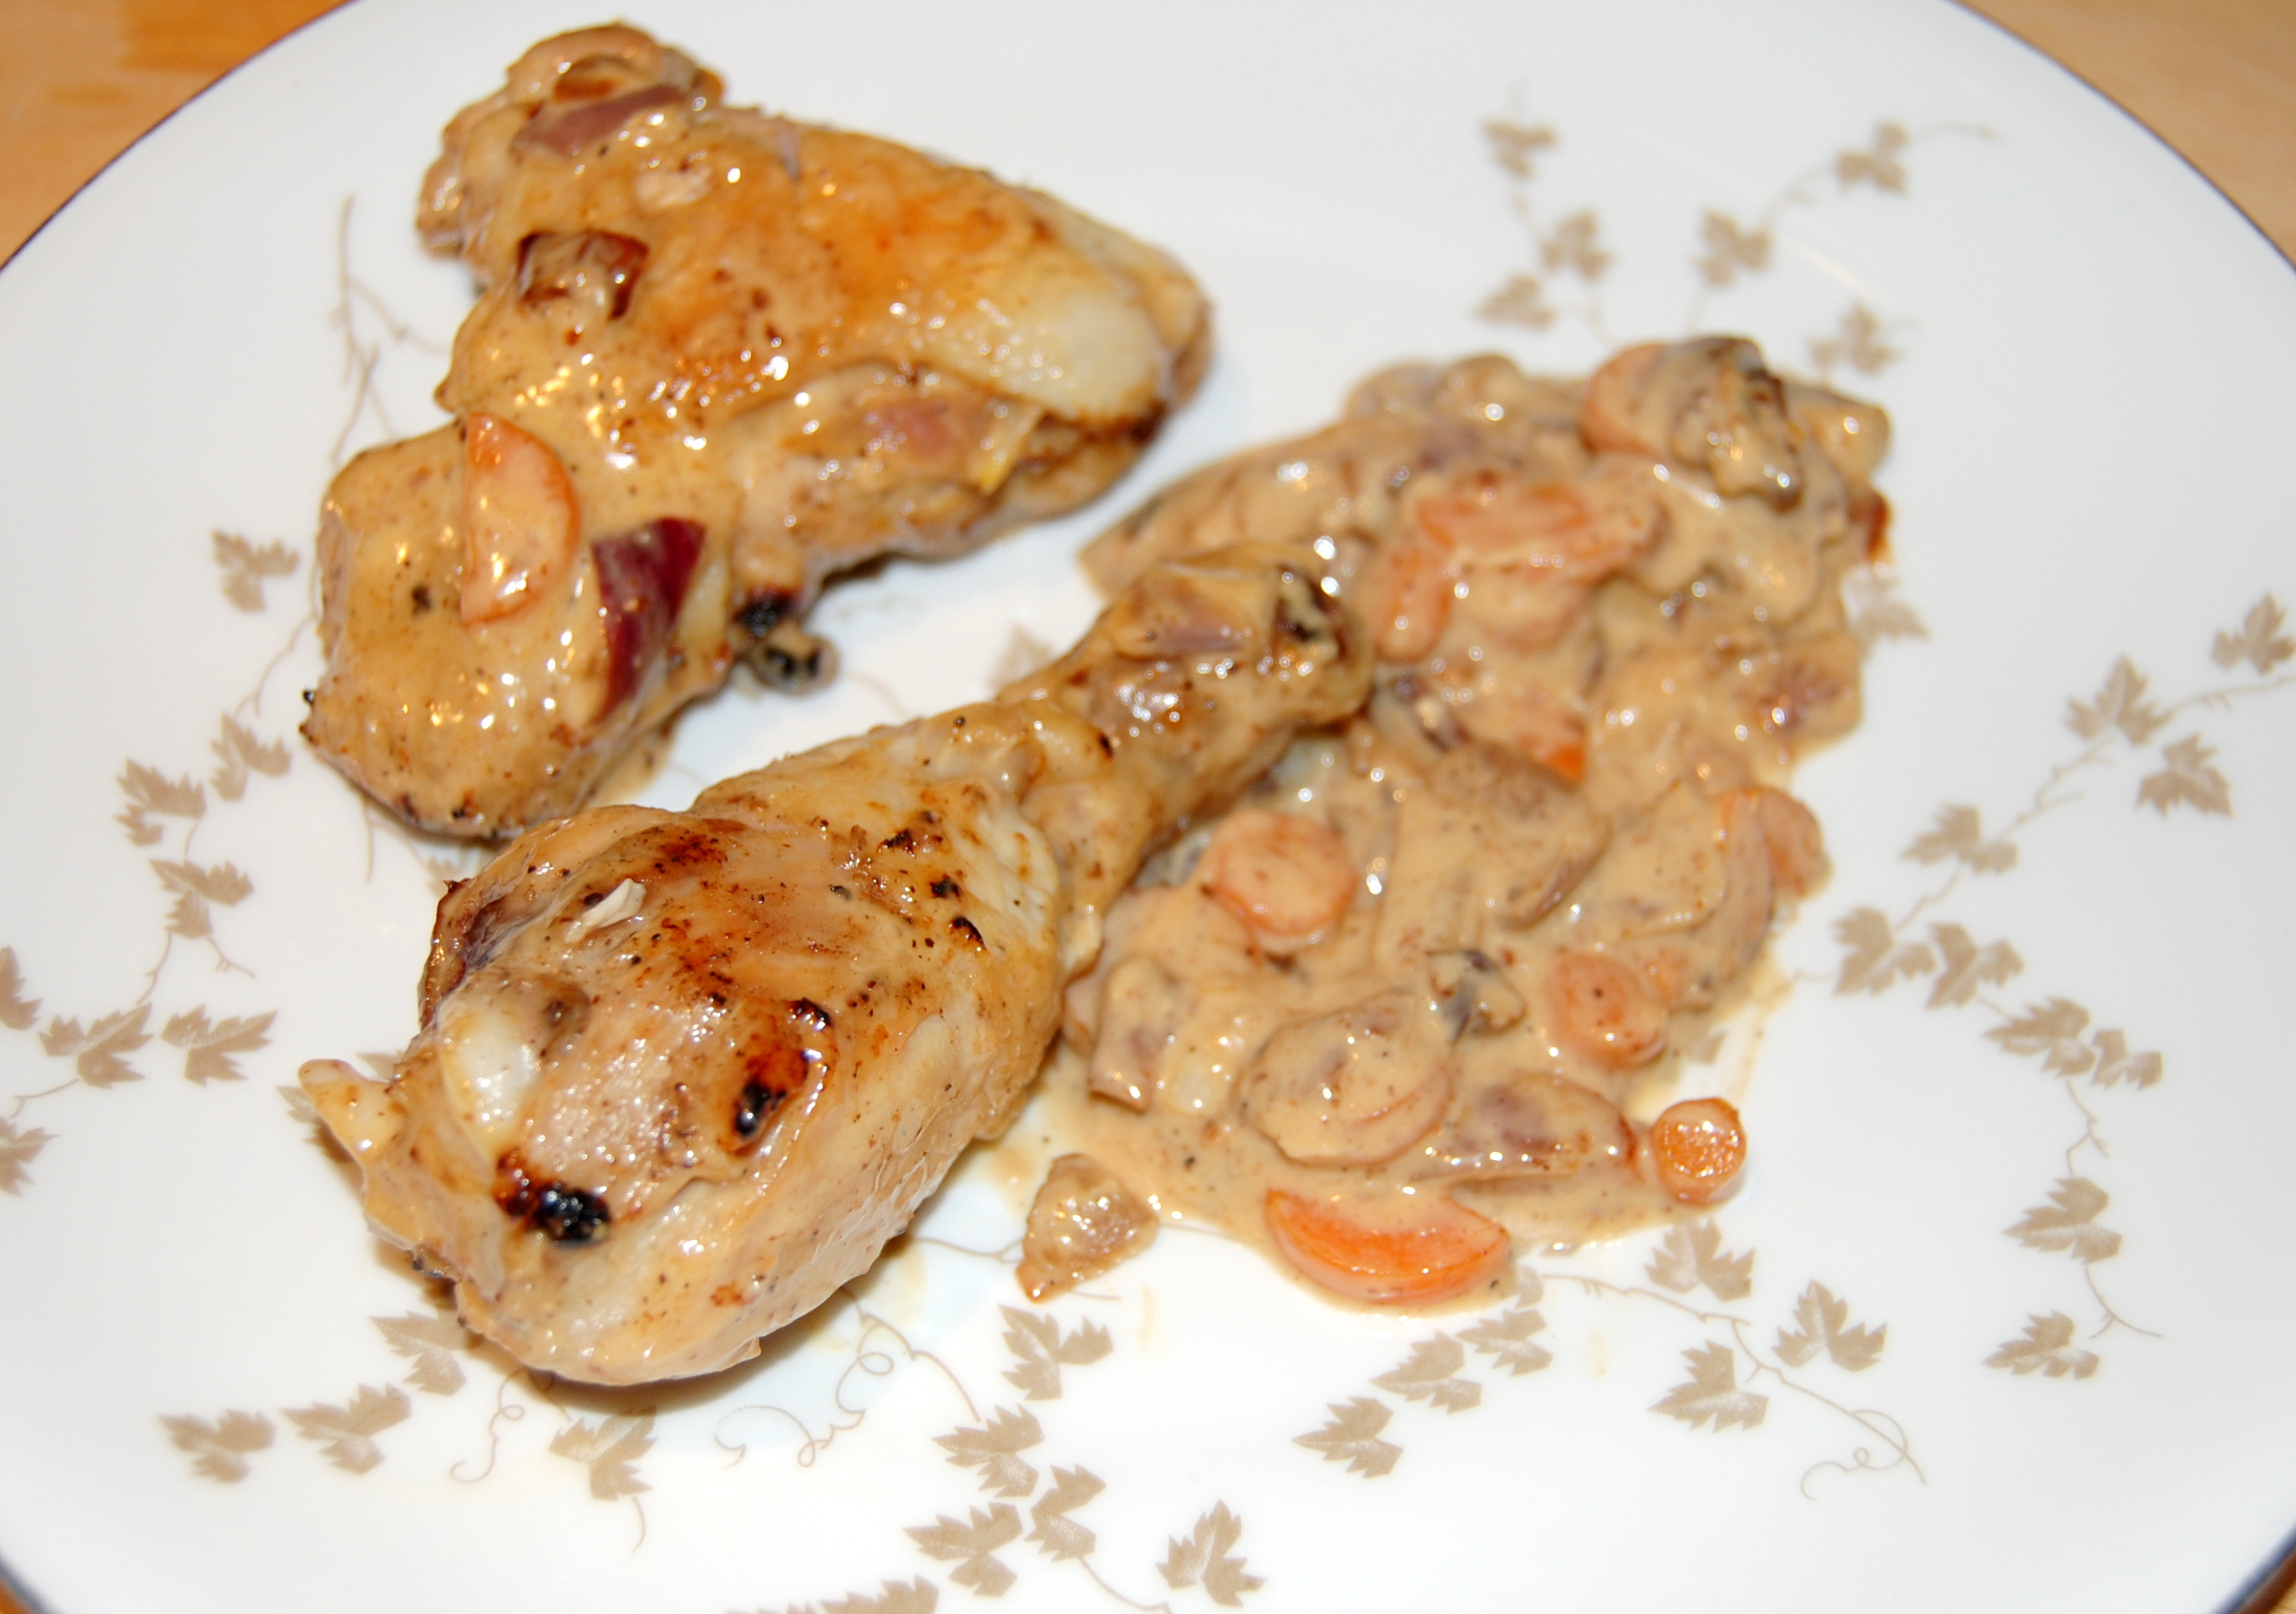
I tried to get a picture of the flaming chicken but wasn't able to. Once you no longer smell alcohol (watch those eyelashes!), you're pretty much done and the flame will have burned itself out. Remove the chicken to the dinner plates, pouring whatever liquid is left in the pan over them.

Glorious detritus.
 Todd Wernstrom